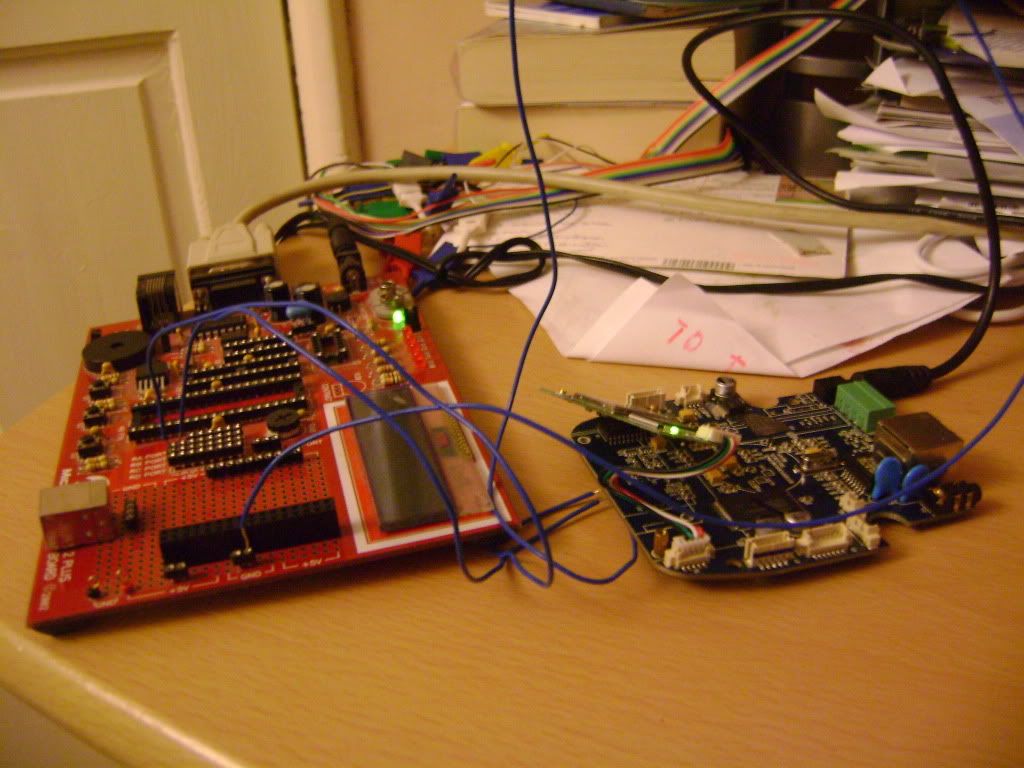
Hands up who thought I would have fixed it by now. You are not alone, I figured this would be an easy fix too. If you remember last post (or care to click on previous post), you would remember that I was concerned by those few pins that looked damaged. Well damaged they were, and a quick touch-up with a soldering iron soon fixed that problem. Did I say fixed; I clearly meant changed.
 I have jumped the first hurdle, only to be greeted by a brick wall. Yes, I can see more of the flash. No, the flash is not complete – or at least it is corrupt. I will take this opportunity to thank the people over at http://www.openipcam.com as they have been/are being fantastically helpful. It is pretty obvious that the Flash chip is responsible for all my woes – and also for forcing me to understand ARM processors a bit more. These work differently to how a PIC or Atmel (including the arduino) works. The 4M flash chip is split into a number of sections; the bootloader, uCLinux, the file system, and additional settings or website interface. The ARM takes these pieces of data and copies them onto the 16M SDRAM chip, and runs the software from there. This realisation led me into thinking of this tiny embedded system as a mini-computer instead of a microcontroller; something that I am sure is either entirely obvious to people, or lost on them. Either way, my thinking had changed.
I still had a problem that needed breaking down and I came up with a number of different theories. Either the ARM, flash, or SDRAM couldn’t communicate properly, or the flash had gotten corrupted. I knew that some of the flash was fine, and some of the communication was working as I already had the bootloader loading up, and now I could see what was actually in the flash. However, I couldn’t trust anything I was seeing from the flash, as I knew part of it wasn’t working. If only there was a way to load the SDRAM directly. Luckily we can do just that.
Using the command “mx 0x8000” it is possible to upload a version of uCLinux directly into SDRAM, and “mx 0x700000” allows us to upload a new file system. On XP this is easy. All I need to do is open HyperTerminal, click Transfer -> Send File. All I needed to remember was I was using the XMODEM protocol. HyperTerminal was actually written by a company called Hilgraeve, and was licensed to Microsoft to use in their communications package. Apparently Microsoft did not want to continue paying a fee for this incredibly useful piece of software, and so HyperTerminal is no longer packaged with either Windows Vista, or Windows 7. To get around this, I used RealTerm as my serial communication program, and fall back on TeraTerm when I need to use the XMODEM protocol. These tools are purely my preference, and not the only ones capable. Uploading the two files takes some time, but once they are done all that was left was to type “g 0x8000”. This tells the ARM to start running whatever is found at data position 0x8000, which just happens to be where I stored the uCLinux program. I was able to ping Google, and so I was happy that the SDRAM was working properly, and I started on the long journey on sorting the flash out.
People always talk about data as “ones and noughts”, or “zeros and ones”. This is fine as that is how a computer stored that data – but it is not how the data is represented. Letters are just a collection of straight and curved lines, and yet we that is not how we think of them. I am not going to go into bytes, nybbles, hexadecimal as you already know it, or you don’t want to know it. I will say that the flash chip has numerous address and data lines; the idea being you punch in the address that you want and the chip will pump out the data held in that address. The “ones and noughts” become important now as they make or break those address and data values. Imagine we wanted data location 13. This becomes 00001101, so we would set our address lines high or low depending on those values. Now unfortunately we have a fault on the board such that bit5 is always tied high. Although we want 00001101, the flash chip sees 00011101 (or location 29) and gives us the data held in that location. This works the other way too, as writing to location 13 would not only overwrite location 29, but also leave 13 alone. There is no easy way to diagnose these problems, other that a multimeter and a steady hand. Alternatively, I could solder flying leads to each of the pins of the flash chip, and the appropriate pins on the ARM, and check the transitions with my Open Bench Logic Sniffer.
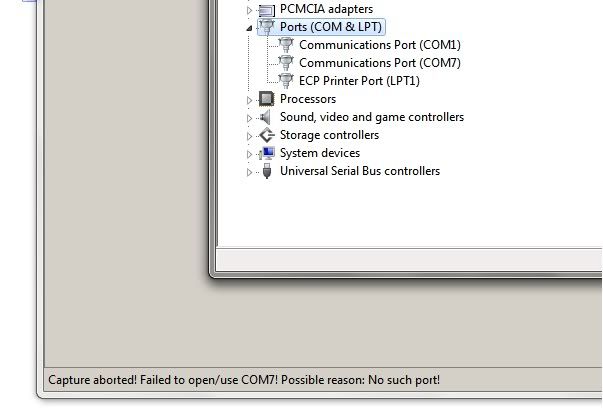
 Again, if you checked my last post, you would see that I gave up on using the Logic Sniffer. Or should I say I gave up on it for the night. The next day I took it to work, followed the same steps and “hey presto” it worked first time. I am now running the latest PIC and FPGA code, and it works great…at work. For some reason, it still doesn’t play nice with my home PC. There must be some quirk with the combination of Windows 7 and a 64bit OS that means it just won’t play nice. It appears as a comms port, but software doesn’t appear to be able to talk to it. I am chalking this up to be an issue with the Microchip drivers, as I can’t open the port in any other program either. I went as far as downloading Microchips latest Application Library (containing the latest USB Framework), in an attempt to get a working virtual com port, but even that didn’t work.
 Moving back to the camera. Although the boss is aware that I am bringing this problem into work, I set it apart just for breaks and lunch time, and the occasional early start and late finish. As part of the process I have had to take the PCB out of the case. This makes probing a lot easier, but also has the added benefit of disguising its true purpose if the MD walks past my desk.
Leave a Reply