I’ve got some LCM7215’s on order for a work project so I’ve got some downtime until they are due to arrive. I’m going to run through the LTSpice simulation process, and look at the alternative solutions available.
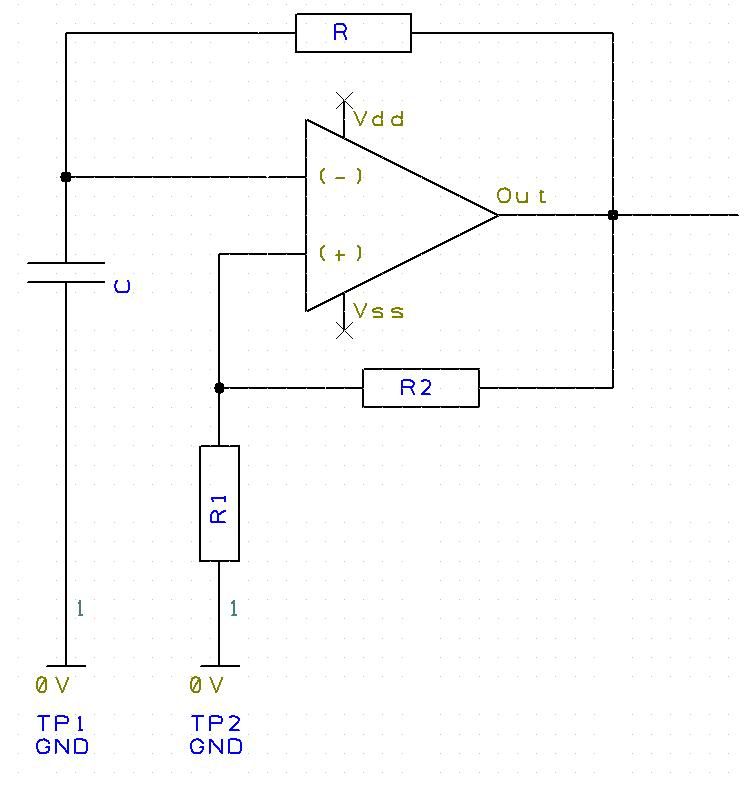
Assuming you haven’t already, you will need to download LTSpice. This is a free Spice simulator provided by Linear Technology. It’s pretty basic, but it has almost everything I needed to get off the ground. By using the following equations I managed to select starting values for my oscillator.
![]()
![]()
Using R = 255k, R1 = 1M, R2 = 255k, and C = 10u, we have a T of just over 11 seconds. Interestingly, when I simulated the circuit, my T was around 4.4 seconds. I am using fairly large values as I want to limit the current. The output is fairly constant, but there are a number of problems with my current circuit.
Firstly, I want to use a single supply op-amp. This means I need to create a virtual ground or else the op-amp will be driven into an undefined state. The simplest way of acheiving this is my tying the inverting input to Vdd through a resistor equal to R1. Next, my output has a duty cycle of 50%. This is a problem as I want my device to be as low powered as possible. A reduction from 50% to 2% duty cycle would reduce my current consumption by a factor of 12. That is the battery would last 12 times longer. To adjust the duty cycle you need to include a diode in parallel withthe negative feedback loop. The idea is that the diode will all the capacitor to either charge or discharge quicker, depending on the polarity of the diode. As we want the capacitor to charge quicker we need to allow the current to flow to the capacitor quicker. Lastly, I have specced out the op-amp that I want to use. The LMC7215 is a low power single supply rail-to-rail comparitor that ticks all of my boxes. The only problem was that it is a National Semiconductor part, and LTSpice is Linear Technologies. This means that the part won’t already be contained in one of the built-in libraries.
To overcome this, National Semiconductor have released the SPICE definition for that part, and LTSpice allows you to include a SPICE directive. There are a number of options when it comes to using custom SPICE definitions, but I will only cover the one I used. I had already built up the circuit around a different op-amp, so to continue I needed to change the model. There isn’t a way to change the model, so instead you have to delete the current one and drop in the replacement. My replacement was based on the “opamp2” model. Once the base model is inserted you need to insert the SPICE directive. This is a button on the toolbar that opens a text box. Take your downloaded SPICE definition and copy the tesxt directly into the text box. Select “SPICE directive” from the radio buttons, and click OK. Next, right-click “opamp2” and type “LMC7215/NS” into the Value field. This is based on the SPICE line starting with “.SUBCKT” comment. Next, we need to tie together pin names and definitions. This is done by editing the “opamp2” symbol. When you right-click on a pin, a box opens allowing you to change the “Label” and the “Netlist order”. The “Label” is the pins name and the “Netlist order” is the order at which they are mentioned in the SPICE file. In this example we have
“.SUBCKT LMC7215/NS 3 2 6 4 5”
That means the non-inverting pin is called “3” and its netlist order is 1. The inverting pin is called “2” and its netlist order is 2, etc. Once that is set up, you can run the simulation.
With the circuit designed and simulated it is time to lay out the PCB. Unfortunately for you, I use EasyPC at work, and as that’s what I will be using to lay the PCB out in. I have given you the tools to create your own flashing light project using an op-amp as the starting point. Next article I will be laying out the PCB, and designing an enclosure for it.
Before I go, I wanted to run through the other two options. The PIC is based around the PIC18LF14K22. This is a low power device, and I happen to have some left over from my electronic dice project (still waiting for PCBs). Not much to say here. I’ve connected up the header pins for the ISCP, and using a 560R resistor I’ve connected both pins of the LED to the PIC (anode to digital pin, cathode to analogue pin – diode “points” to the analogue pin). The 555 circuit used a 560k resistor, 15k resistor, and 10uF capacitor to give a period of around 4 seconds, and duty cycle of 97%. By reversing the diode and connecting to Vdd the LED flashes briefly for 105ms, and stays off for 4 seconds. Again, the 555 is just too power hungry, and the PIC is a bit of a waste of technology. I admit, I could use a PIC10 or PIC12 and get better usage, but I left assembly behind more than a few years ago and I’m not planning on looking back.
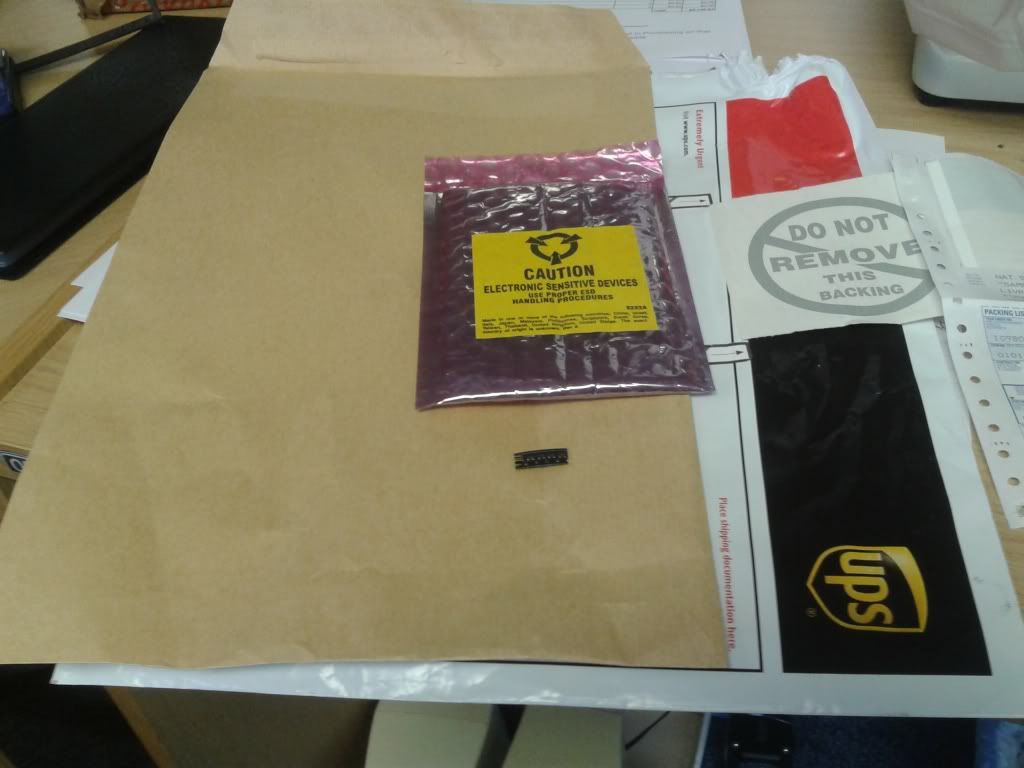
As luck would have it the LCM7215’s have just arrived on my desk. And yes, the 5 SOT-23 devices did come packaged in an A4 envelope.
